10 Important Composting Tips and Tricks
Composting is making use of biological degradation to transform organic waste matter into valuable plant food. Managing and recycling waste to generate nutrient-rich compost is a win-win for all.
In today’s world, composting is the key to boosting regenerative and organic farming systems and reducing the impact of soil degradation. And the best part is, you hardly need any tools for it.
If you are new to the concept of composting, here are 10 composting tips and tricks to help you get going.
But first, check out this video from the Modern Homestead to better understand what ingredients make the best compost:
1. Choose the Right Composting Method
Before picking the right method, let’s look at the various composting methods that are commonly used.
Open air composting– The composting is done in an outdoor compost bin placed in your backyard. It is a pile of various waste materials generated from the garden. A large compost pile starts generating heat as it decomposes. So, it is often called hot composting.
Tumblers- The tumbler is a fully sealed container that is filled with green and brown waste and rotated. Under ideal weather conditions, tumblers can speed up the composting process and keep rodents and pets away from the compost. Since they look tidy and prevent the spread of odors, they fit well in a modern homestead.
Vermicomposting- This is a cold composting method that uses worms like red worms and red wigglers to break down the waste matter. Temperature and moisture are crucial to ensure optimized decomposition of the waste. This can be done in small containers or on a larger scale as worm farms.
EMO composting– If the idea of worms in your home is unappealing, then EMO (Effective Microorganisms) composting is great for indoor space. It uses a small container containing bacteria and microorganisms that break down the waste. Usually, the container is fitted with a carbon filter to eliminate odors.
Electric composters- This is a relatively new concept and consists of a bucket in which food scraps are deposited. It is supposed to convert the scrap into compost within a few hours. However, the claims by manufacturers are misleading, as the end product is not true compost but dried and ground waste material.
Choosing the right method depends on your specific needs. Also, consider the volume of organic waste you want to compost and space availability. Make sure that you can maintain the optimum environment for it.
If you have enough space an open air method or a compost bin can work for you. EMO or worm composting are good options for dealing with a small volume of home waste.
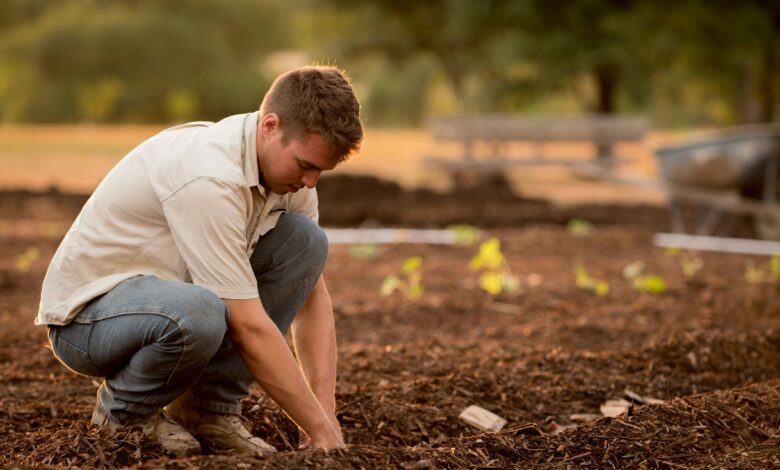
2. Select the Ideal Location on Your Property
When you are composting at home, pick a spot that is easily accessible. Avoid concrete and wooden surfaces as these can get stained by the liquid that drains from the compost pile. Ideally, it should be within the reach of a garden hose. That will allow you to maintain the right humidity level.
Steer clear from spots that are too hot or too cold. A shady spot that receives a little sunshine is best. Make sure the area is level and the water drains quickly. Quite simply, you do not want the compost to turn into a smelly mess after a heavy shower.
Let’s face it- composting is not a pretty sight and even after your best efforts the compost heap might start smelling. So, do not put the bin too close to the house. Nor should it be too far as that can make regular waste deposition difficult. A distance between 15-25 feet is good enough depending on the available space.
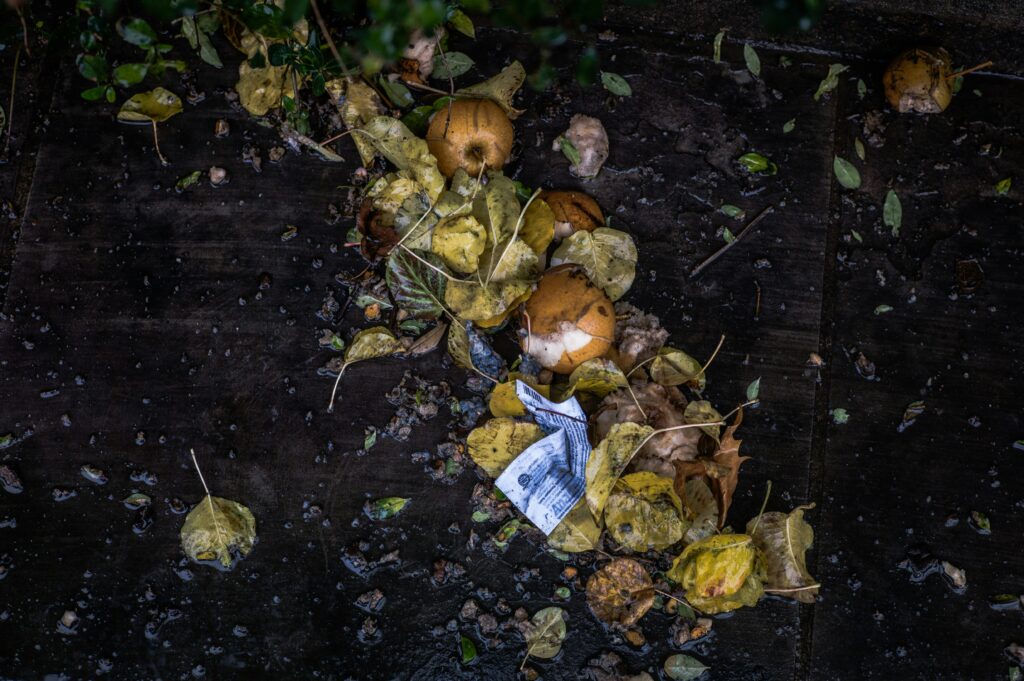
3. Create the Perfect Balance of Greens and Browns
For the best compost quality, you need the right balance between “greens” and “browns”.
- Greens are grass clippings and table scraps like leftovers, fruit scraps, eggshells, and veggies. They provide nitrogen and moisture needed for the microorganisms to grow quickly.
- Browns are dry materials rich in carbon. These include dry leaves, paper, woodchips, sawdust, cotton fabric, dried grass, etc.
The ideal mixing ratio is 3 parts brown to 1 part green- at least in my experience. Note, that this is not an exact but an approximate ratio you need to maintain. If the compost pile is not heating up, add some greens. If things are getting too wet or stinky, add some more browns.
You can make multiple brown and green layers in an open-air pile, starting with a brown pile at the bottom. I always make sure to keep the food scraps at the center of the pile.
4. Know What Ingredients Go In Compost
You cannot toss in any form of waste in a compost pile and expect the composting process to work. For example, you may know how to preserve meat in the wild but the meat can go bad due to unexpected conditions. But, using that for composting is a no-no as infected meat can contaminate the compost. Likewise, some items like charcoal ash contain chemical residues not suited for gardens.
Let’s start with a list of what to put in the compost bin.
- Animal waste from herbivores
- Coffee grounds and filters
- Paper, cardboard products, and shredded newspaper
- Hay and straw
- Hair and fur
- Pinecones
- Tea leaves
- Fruit and vegetable peels
- Eggshells
- Cooked rice, pasts, and stale bread
- Corn husks
Here is a list of items that you should not add to a compost pile.
- Meat, seafood, bones, oils, grease, and fats
- Pet or human waste
- Citrus fruits with high acidity and odorous items like garlic and onions
- Wood or charcoal ashes
- Chemically or pressure-treated wood products and glossy paper
- Insect-infested plants and invasive species of weeds or grass

5. Chop Up Larger Items Before Composting
Breaking up larger items like corn cobs, branches, and broccoli stalks into smaller pieces speeds up the composting process. With smaller pieces, the microorganisms have a larger surface area to work on. Smaller pieces will also help in reducing the compost pile size and accommodate more materials in a bin. Plus, with smaller pieces, I find the pile looking neat and easier to turn.
Remember not to shred the moist organic materials. They can get too soggy and impede the decomposition process. Do not ground the waste into a paste either. This will decrease “pore space” within the material and reduce the airflow.
Some items can be easily shredded by hand and I have used shears with others. Using a pre-compost shredder on larger items can make the task easier.
6. Maintain Proper Moisture
Optimum moisture level is a must during composting as it increases microbial activity and maintains the best rate of composting. The ideal moisture range in a compost pile is between 45% to 60%.
When it rises above 60%, the oxygen content of the compost heap reduces, making it hard for the aerobic bacteria to survive. If the moisture content falls below 40%, the fungi will dominate and the bacteria may die or lie dormant. Either way, optimum decomposition will not take place.
One easy way to determine the moisture content is to take a handful of compost from the material. Do not collect from the top and go at least 15-20 inches deep. If you squeeze the material, it should feel moist and stick together. However, no water should come out.
If it does not feel damp, add water or materials with high water content. In my case, items like watermelon or pineapple rinds work great. If the compost is too wet, try adding materials like newspaper strips, or wood chips.
7. Ensure Adequate Aeration
The key to great aerobic composting is maintaining the right balance of moisture and air. Studies suggest that continuous aeration and rotation of compost reduces the active composting time significantly.
Quite simply, aerobic bacteria need a steady supply of oxygen to break down the waste materials. A limited supply of oxygen slows down the process. In addition, aeration removes the generated heat and excess moisture from the pile. This reduces the chance of compost overheating, especially in hot and dry conditions.
The easiest way to ensure aeration is to turn the bin regularly. Adding a base layer of twigs and branches to the compost heap helps with airflow. I have used corrugated cardboard and egg boxes to create air spaces and aerate the pile, For large–scale composting, a blower is used to precisely control the airflow.
8. Turn Your Compost Regularly
At every point during the composting process, your objective is to help out the hard-working microbes as best as you can. Turning the pile is essential for that.
Each time you turn the compost pile, new passageways for air and moisture penetration are created. As the material decomposes, the pile shrinks in size and generates less heat. A compost pile’s ideal temperature is between 135 and 160 degrees Fahrenheit. Turning exposes the inner layers to bacterial action, prevents it from cooling down, and speeds up the process.
At times, the lower layers can get compressed under the weight of the green materials, shrinking the air pockets. Turning exposes such layers to air and moisture and provides the microbes with new food materials to work on.
The old-fashioned way of using a pitchfork to turn the compost is not easy, but it gets the job done. Using a compost tumbler is the easiest option and the process is quick. Another option is to use a multi-bin system and transfer the compost from one to the other.
9. Use Compost Activators or Worms to Speed Up the Process
An activator or booster is an element that speeds up the decomposition rate. They can increase the growth of bacteria and fungi, or promote the activity of the worms. Ideally, you should use homemade compost accelerators.
Matured manures, coffee grounds, molasses, and worm casting tea are some activators. Gross as it may sound, human urine is another excellent natural accelerator due to its high nitrogen content. You can buy organic activators from stores, but they need to be eco-friendly.
Sprinkle the organic compost activators on a compost heap as per the manufacturer’s recommendations. Other accelerators can be added to the center of the compost heap and covered with more layers.
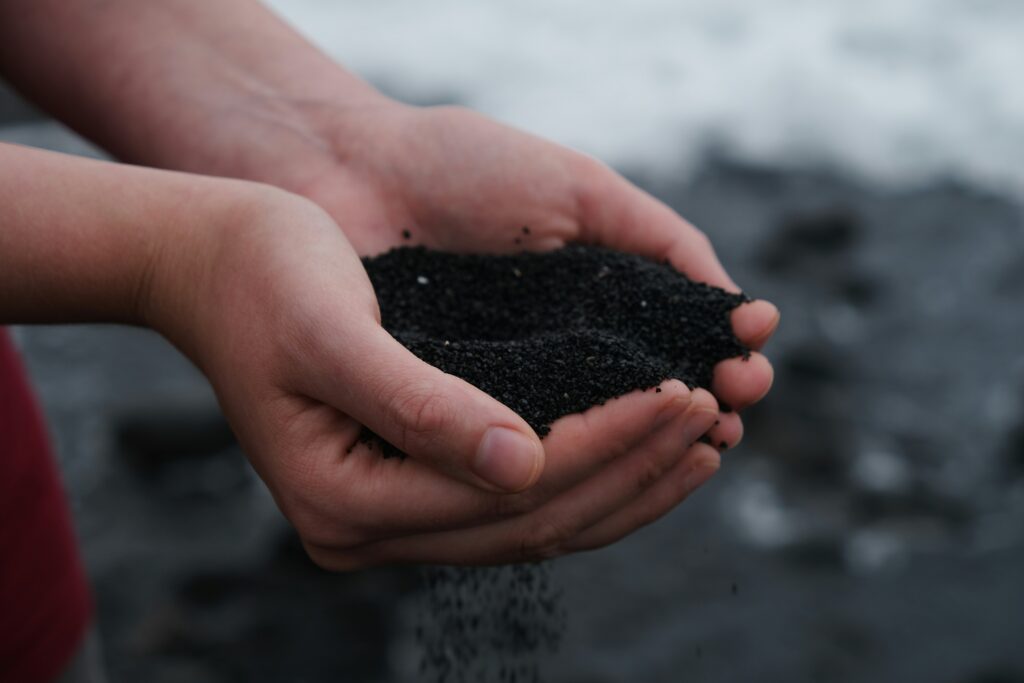
10. Harvest and Use Finished Compost
The first sign of the compost being ready is a reduction in volume, The original compost volume should be reduced at least by half when the process is complete. Finished compost is never wet or soggy but feels like dark topsoil with an earthy smell. The temperature of the finished product should match with the ambient temperature.
Finished compost is used on flower and vegetable beds. You can use it on top of any soil in the lawn or garden. Make sure to use a rake and spread it evenly across the surface. You can add a layer on top of the flower pots and a half-inch layer at the base of growing plants or a new tree.

Final Thoughts
Hope this gives you an idea about how to make good compost while homesteading. Composting is nature’s wonderful way of converting waste into rich soil in a few simple steps. And composting works almost everywhere, whether you have chosen one of the best states to homestead or any other place.
While a pile of waste hardly looks alive, millions of invisible life forms are working their magic in it to make this incredible conversion happen. Making use of these composting tips is one of the best ways to boost your garden’s productivity. Honestly, it couldn’t be easier.
